So after speaking with Alex I had changed my project to be a pedal-powered Arduino. The idea was exciting. It would still be a pedal-powered brake light but through a microcontroller. I did some research on what that would entail and I didn’t find much. I would need to regulate the power and also make sure it doesn’t go above 5v and fry the Arduino. Alex suggested I contact Jeff Feddersen. He teaches Sustainable Energy at ITP which is the class that Alex’s project was for. Apparently in class he demonstrated a hand-cranked Arduino.
So I emailed Jeff, but I haven’t gotten a response. In the meantime, I found these images from his class that might be what I need.
http://itp.nyu.edu/sustainability/energy/images/class3/5V.jpg
http://itp.nyu.edu/sustainability/energy/images/class3/5Vschem.jpg
So.. Back to my Original Idea
But in the interest of time–this final is due in nearly a week–I decided to go back to the drawing board, do less drawing on the board, and just try stuff.
Again, these are the 3 things I need to accomplish:
- I need to activate the light when I brake (create a switch)
- I need to generate power from the motion of the bike, by pedaling
- The product itself must be unobtrusive to the experience of pedaling and braking
The Switch
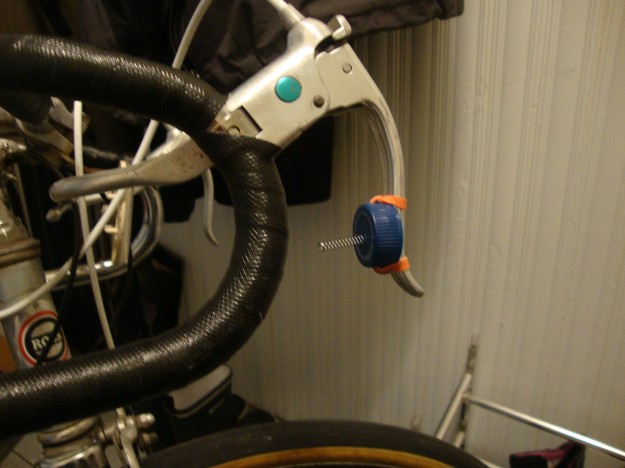
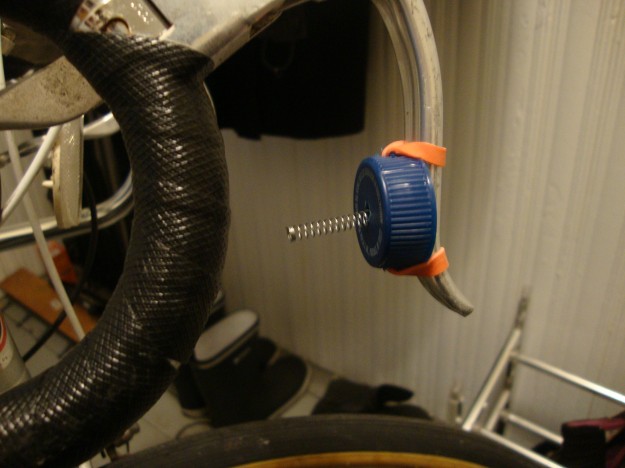
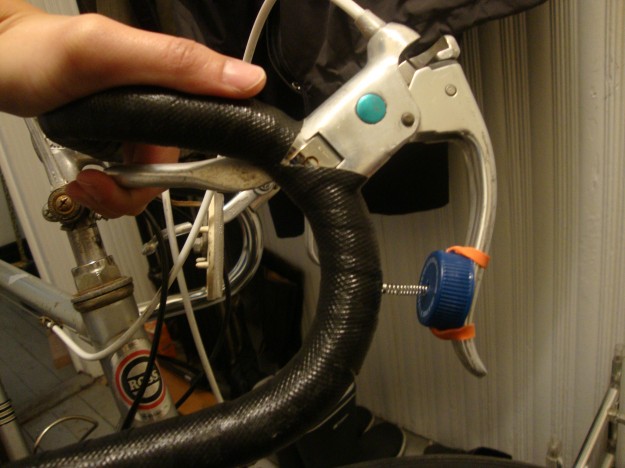
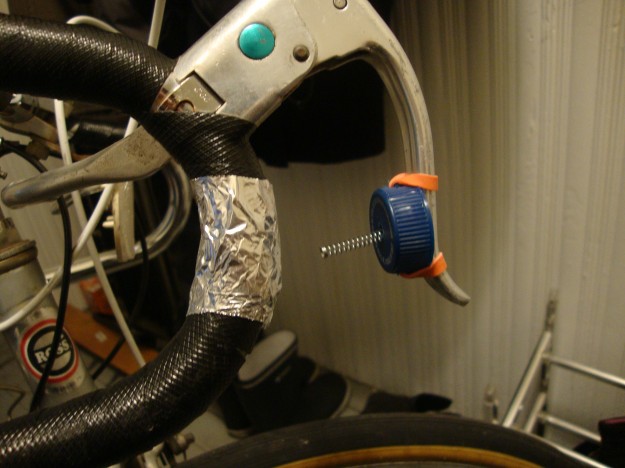
I went back to my original gut feeling of placing the switch directly on the brake bars. I can use something between the bar and handlebar to close a circuit. But in order not to interfere with the action of pulling the brakes, I used a spring.
For this prototype, I took a spring from a pen and place it in a bottle cap to give it a booth in length. Then I attached a rubberband to it so it can then be attached to the brake handle. It looks like this.
Generating power
For a simple bike generator, I found these instructions on instructables.com
http://www.instructables.com/id/Bike-Dynamo/
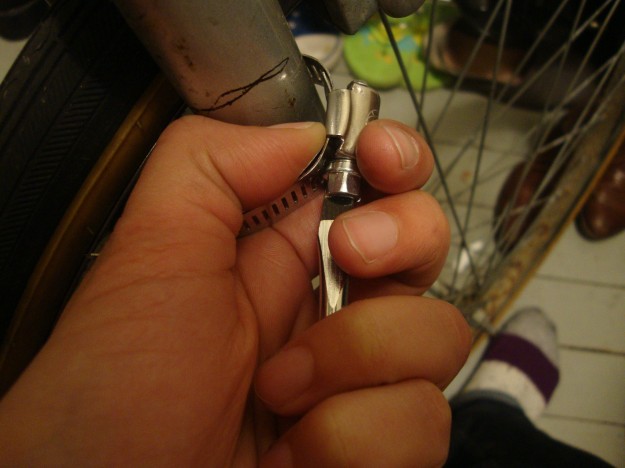
The instructions actually say to use a bottle cap, I didn’t make that up! For testing, I tried the motor in our Arduino kits and a 9v high-speed motor from RadioShack. I attached the motor with a hose clamp.
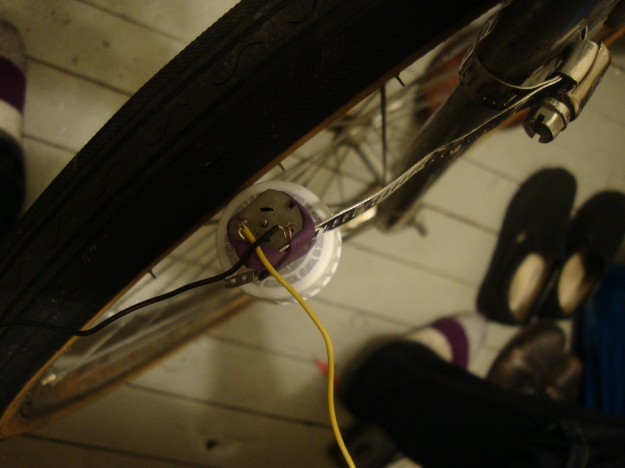
Here’s the motor (with the bottle cap) attached to the hose clamp with a rubberband.
View from above.
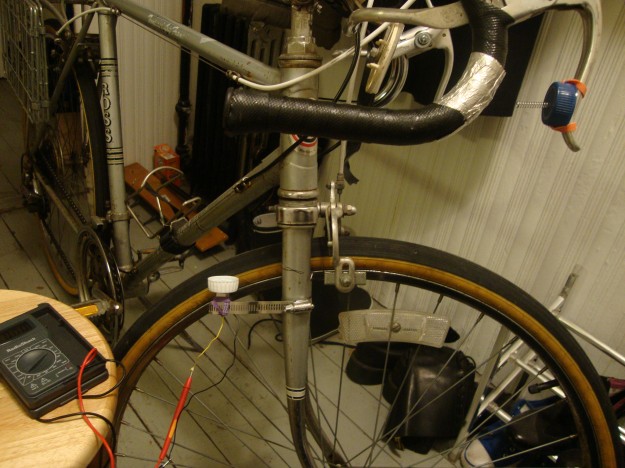
and here’s the set: the switch and the generator.
The light will go at the end of each handlebar.
The Experience
The generator shouldn’t have too much of an effect on the rider. There might little drag but it shouldn’t be noticeable.
The switch, as it is now, is not great. I hope to figure something out, that’s a little better, especially around the grip.
Also, as it stands now, the switch is only activated on one brake.
Status of the Project
Right now I’m not generating enough power to light the LED. But I’ve order geared motors from Sparkfun that should be arriving tomorrow. The gears are 24:1 so that should be able to get at 5v, if not more. I also ordered a proper wheel that will replace our little bottle cap, for better traction.
Next Steps:
- Install new parts.
- Test on a ride!
- Install light on left handlbar
- TEST TEST TEST TEST!
- Adjust
- TEST TEST TEST TEST!
