Michelle Boisson

interaction design and creative strategy

Simple Direction Wearable

I wanted to make a wearable digital compass, that would point to a destination you give it, instead of pointing North. Here is the process I went through, the successes and the failures.

The Parts

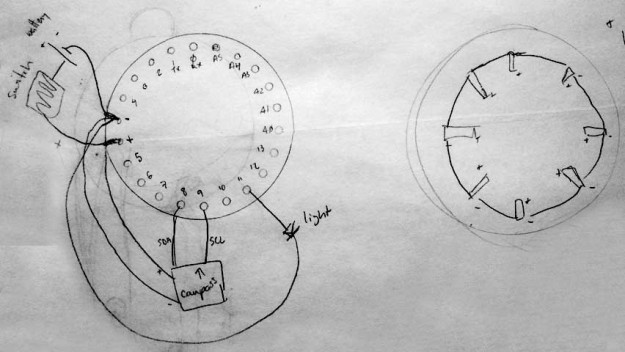
I ordered my parts from sparkfun. I got an ATtiny85 which I could program with the Arduino Uno, a compass module, and ripped some lights out of a children’s shoe (actually Bona did this part for her own project and donated the extra pink ones to me!). Eventually I thought this wearable would use bluetooth to communicate with a cellphone to get current GPS location and destination location, but I left this part out for this iteration. The locations will be hardcoded for now.

Testing the Compass Module

The module was actually fairly easy to setup. It has a breakout board and code posted on sparkfun. I used a variant of the code posted on bildr.org to get a simple circuit to point north. Here I’m using 4 lights instead of 8 like I did in the midterm.

Video: to be posted soon

Then I wrote a script so that it would take two points, where you are and where you want to go, (each with a latitude and longitude) and your heading from the compass, and point in the direction of your destination.

Programming the ATtiny85

I was pretty excited about this part. The ATtiny85 is pretty tiny so it seems it would be great for wearables. However, I soon realized that that the tiny was too tiny for my project, because I needed at least 6 pins (4 lights and 2 for the compass) and it only had 5. Plus some of the functions used by the compass module are not supported by the ATtiny. Doh!

But before I realized all this, I followed the tutorial at High-Low Tech and got my ATtiny to make a blinking light! Pretty cool huh?

Video: https://vimeo.com/55919894

The Wearable’s Shape Part 1: Clip-On Compass

At one point, I considered using a hard shelled bracelet, like a bangle, so that it could accomodate all the hardware. But that style was not at all in my vision, plus I would never wear a bangle, it’s just not me. My compass was more for someone who was on a hike, a bike ride, or an urban wandering walk. I wanted it to be a bit sporty, a bit rugged.

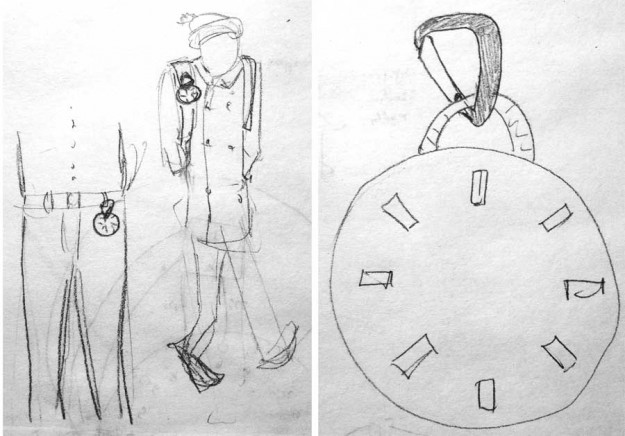
I designed a clip-on compass made of fabric, that you could clip to your bag or clothes.

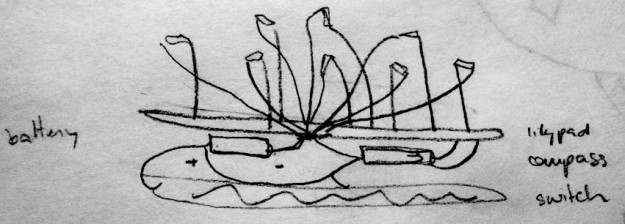
To make it compact, I thought I stack everything on top of each other…

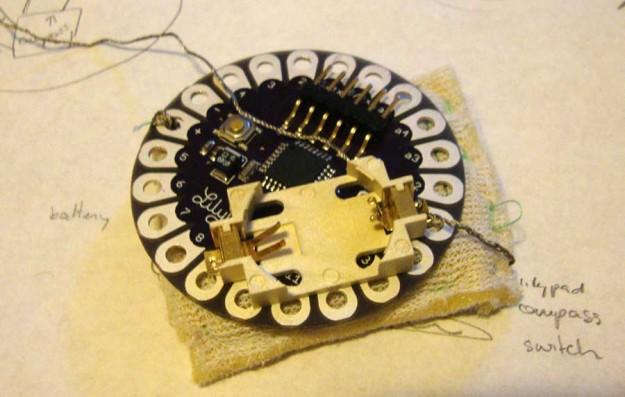
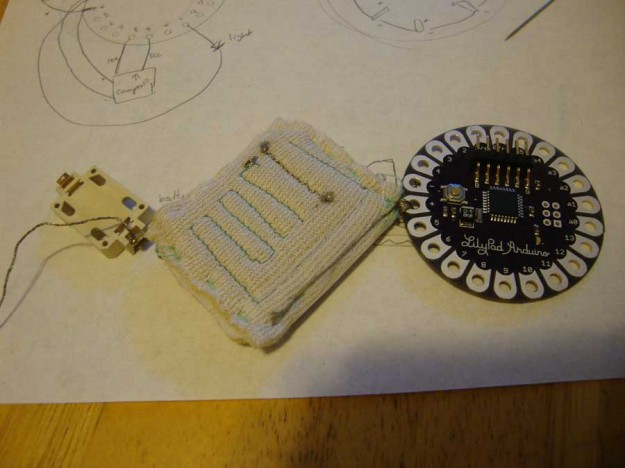
But as soon as I started sewing it, it became clear why that was a bad idea.

It was getting messy. I wouldn’t be able to control the thread from crossing and short-circuiting.

The Wearable’s Shape Part 2: Wristband

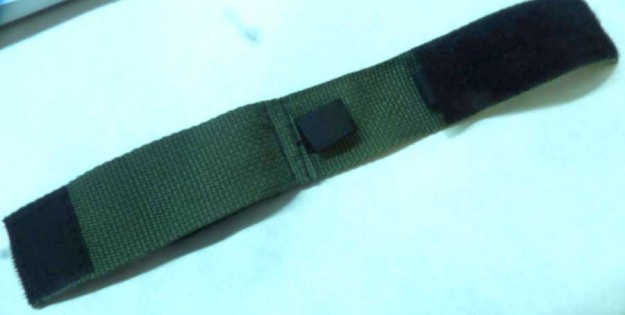
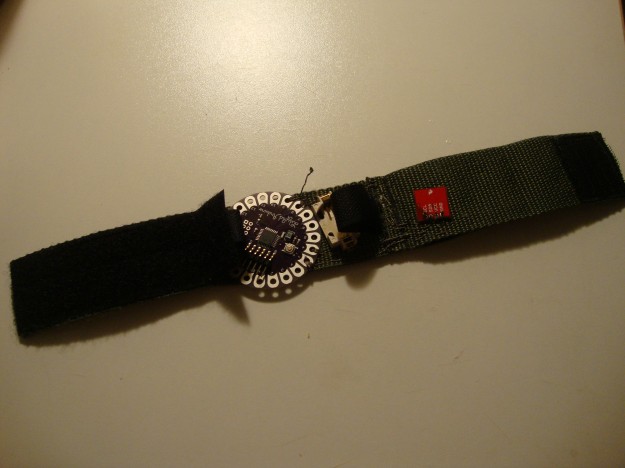
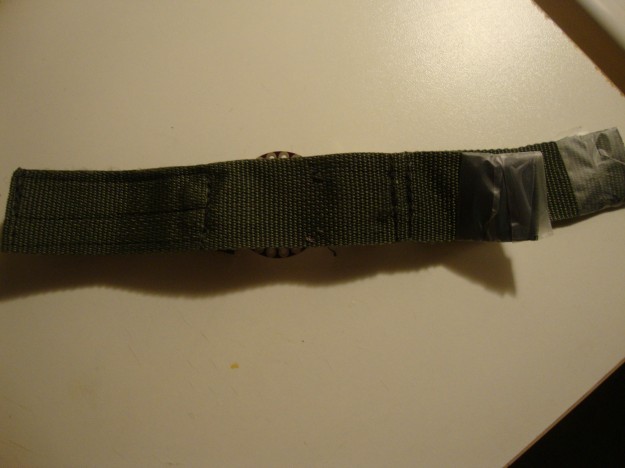
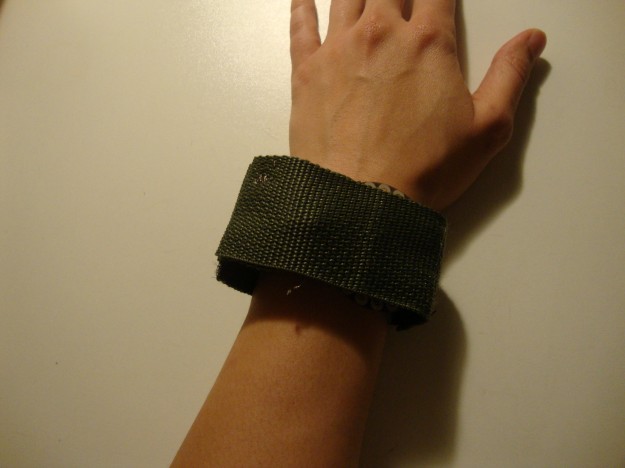
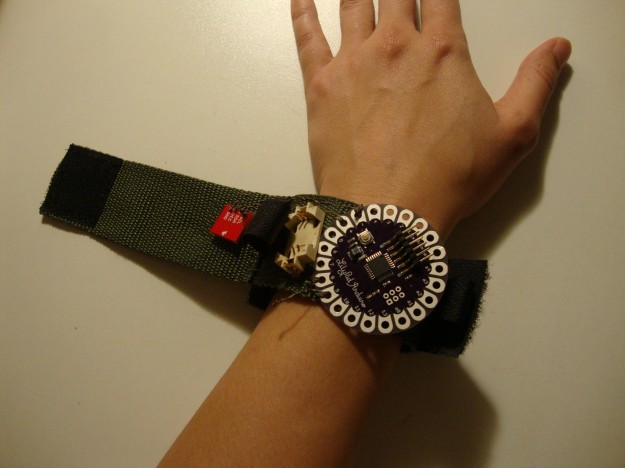
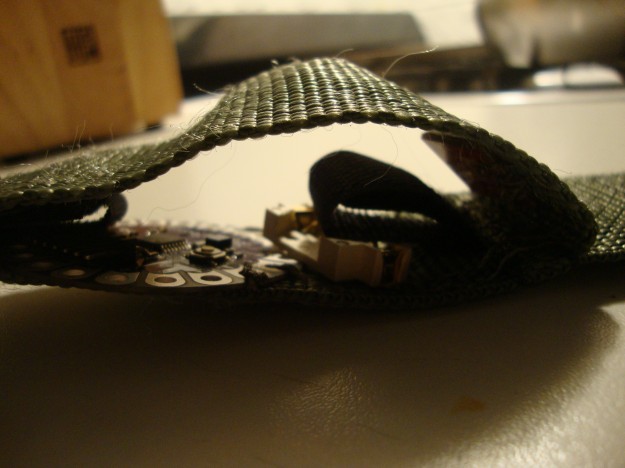
So I went back to my original idea of a wristband. I could spread out the hardware a bit more, than trying to stack them. I found this awesome armband at the Army/Navy story on 8th street between 5th and 6th avenue. It’s for service men and women to put their watch. It’s a little hard to see in the photo but it has velcro straps that go around your wrist, two smaller velcro straps inside to hold the watch face, and a velcro flap that folds over the face of the watch to protect it. This was much closer to the aesthetic I was originally thinking.

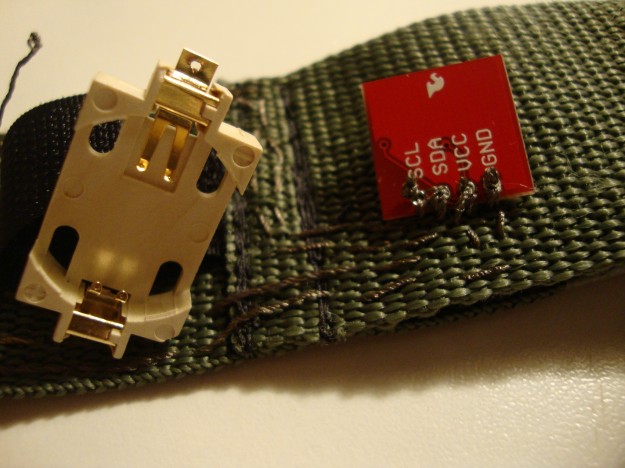
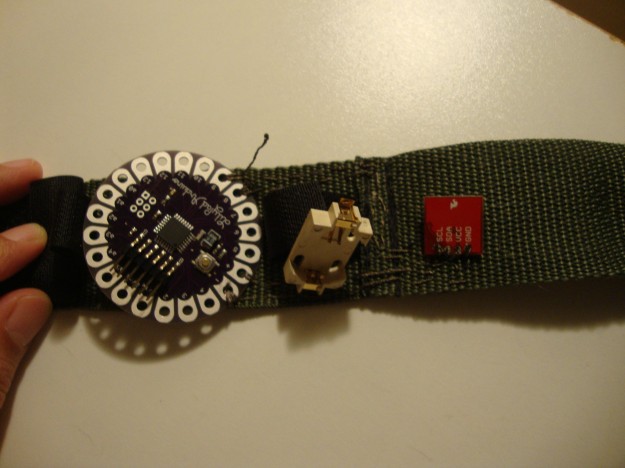
So I started to sew the compass in…
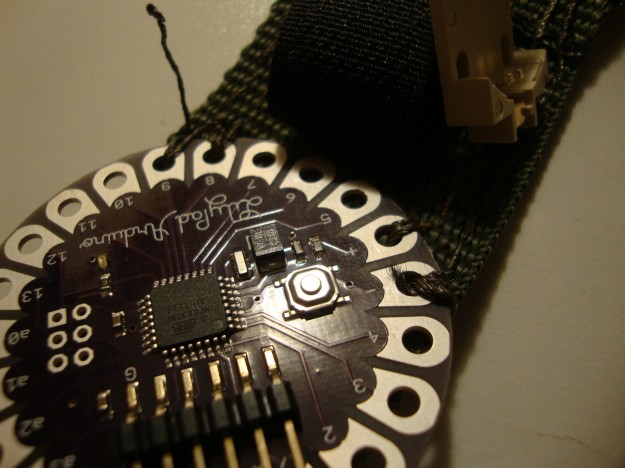
Unfortunately, this is as far as I got, because I can’t get a reading on the compass. I’m still debugging, but I’m guessing there are threads touching somewhere. I also need to solder, so that could be the issue too. But when it’s done, there will be lights on the top here:
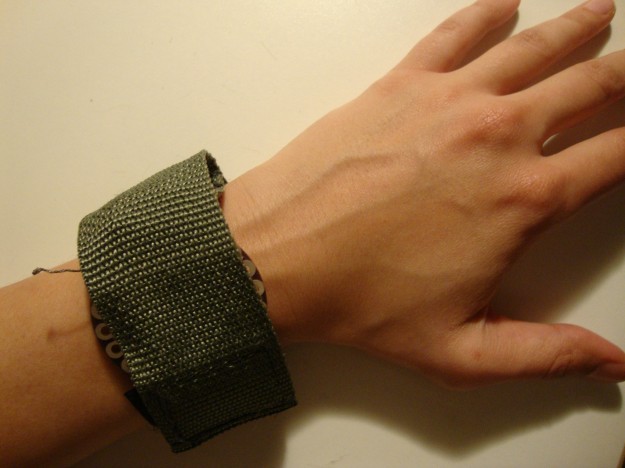
Even if I got the sewn compass working, it’s not perfect. the lilypad is too wide for the wristband, but it would suffice for a prototype among prototypes.

I really want to continue this project and having it working. There are many more lessons to learn in this, including improving my sewing skills.

Lessons Learned the Hard Way

  1. The less hardware, the better! More hardware, makes it not so soft
  2. Stacking hardware to save space is a bad idea, especially if you don’t really know what you’re doing.
  3. Make sure your microcontroller has all the pins you need and supports your functions.
  4. You can try to plan out things in three dimensions forever. Just start making it so you can see where you fail and start remaking it sooner.
  5. Sewing a circuit is hard and time consuming, but will be easier with practice.
  6. The form is as important as the function, and deserves equal amount of time, planning, effort, stress, etc.
ME&Useum

Overview

After a talk giving by Curtis Wong, creator of The WorldWide Telescope (WWT), my team put together a response for our classmates in the form of a presentation. Our response: Personal narratives and immersive environments create memorable experiences. We decided that for our presentation, we would turn the lecture room into a museum space for our classmates to explore, to learn about the members of our team and to share their own narratives.

Personal interaction and narratives

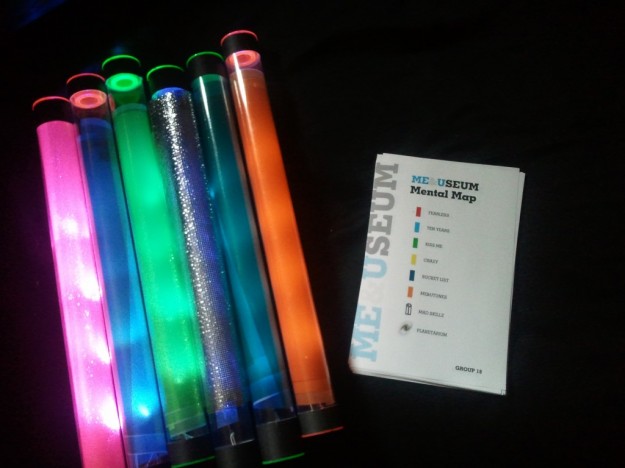
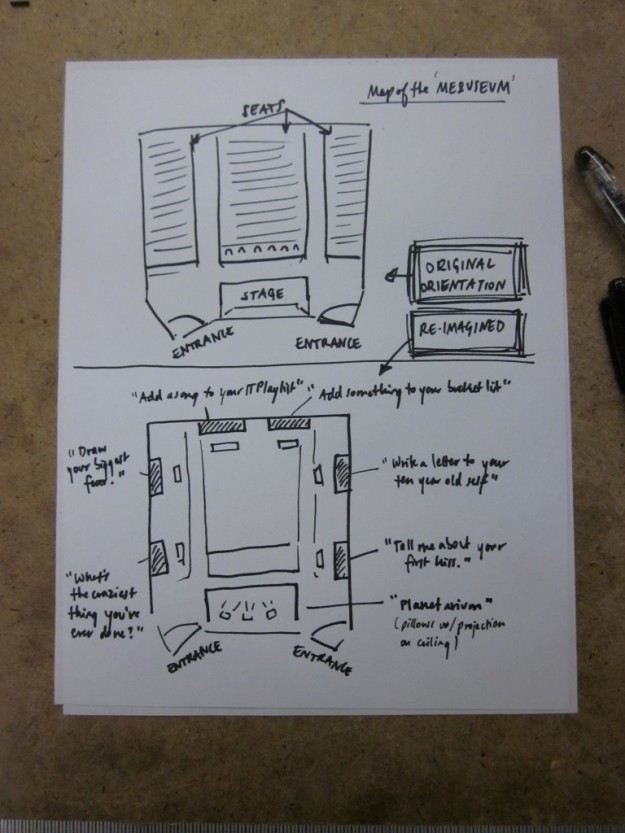
The ME&Useum is museum about our class. We transformed our usual lecture space, which is in effect a theater, into an open space to be roamed around at everyone’s leisure. Before even entering the floor of the space, we had everyone line up downstairs. Matt, Mick, and Sheiva took turns bringing groups of about 10 people at a time and leading them upstairs. As they walked with their group, they introduced themselves and explained the setup. Everyone was given a map key for the different exhibits and a glow stick since the room was dark.

Once the group got to the front doors, they would meet with either Hiye or myself. We introduced ourselves and lead them to the coat check area of the room before letting them roam the space on their own.

We made our introductions this way to make the experience more personal. A group of 10 was small enough for us to get everyone in quickly and still be able to personally address each person.

Inside the museum were six exhibits. The exhibits were where our classmates could learn more about each other and share their personal experiences. The six exhibits were:
– Write a letter to your 10-year-old self
– Draw your biggest fear
– Tell us about your first kiss
– What’s the craziest thing you’ve ever done
– What’s on your bucket list
– Add a song to the ITP playlist

At each exhibit, there were note cards filled with personal narratives from our group, and blank cards and markers for people to add their own stories.

Immersive environment

Creating an immersive environment was important for this project. In order to make this memorable, we needed people to feel like they were entering a new space. By changing how they entered the space and personally escorting them into the room, we already planted the expectation that this was going to be different. We originally talked about having coat check outside of the room which would make the entrance even more dramatic. However, logistically it was just simpler to guide people to a space inside the room.

In addition to the introduction to the space, we created a more immersive environment by dimming the lights to near darkness and having people navigate through the light of their glow sticks. The stations were clearly marked with lit color marks that matched the map key.

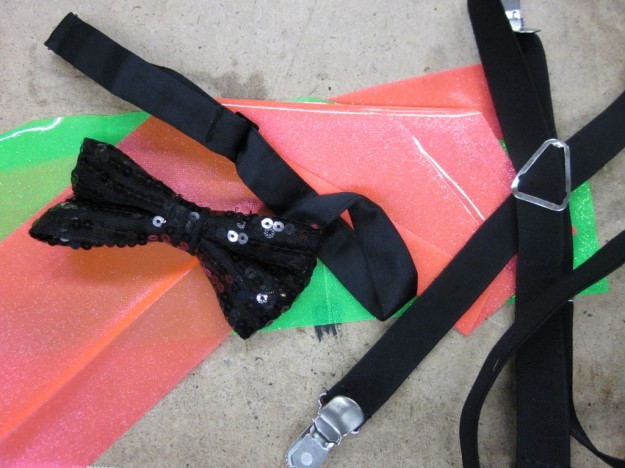
We were also in costume the entire time and played some background music to set the mood.

Levels of engagement and disengagement

Because we were transforming how people experienced the space, as well as asking people to participate, we wanted to make sure we didn’t overwhelm anyone. We were asking them to share personal stories which could be anonymous if they wanted. If people didn’t want to share they could simply read what our group had shared and what other people were submitting.

To take the level of disengagement even further, we had an area of the museum that we called The Planetarium. At the front of the room, on the stage, we laid out pillows and blankets for people to lay and relax. From there, if you look up we had projected an animation that made it look like you were flying through Space, but in between the stars flying at you were cutouts of all of the current students’ head with their name. It was a silly way to help everyone to get one another’s name. Yet it didn’t take any effort on the part of the participant. They could just relax.

We understood that different people are interested in different levels of engagement, or they could simply be tired and not in the mood to walk around. We didn’t want to create any pressure. We wanted everyone to do what they wanted but have tools to participate if they so chose. All of these options were explained to them in the introductions.

Surprise and Discovery

In our discussions about Curtis Wong’s presentation, we talked a lot about discovery as part of the memorable experience. The term “discovery” didn’t make it into our formal reaction, but it was a significant part of it nonetheless.

In our map handouts there was item called Mad Skillz that wasn’t marked like the other items. This part of the exhibit was actually a photo booth placed outside of the room. A few people found it and got to take their picture displaying a skill that they had on a dry erase board.

Another bit of surprise that we planted were hand written love letters to each of our classmates. Each letter was written by one person in our group and Hiye and I placed them one on top of everyone’s bag as they were exploring the space. It was meant to be small personal gift from our group.

Group Collaboration

This project was a huge undertaking for us to pull off in a week. I feel truly lucky to have been placed in a group that was dedicated to making this happen. We met every day and stayed stayed late some nights, much later than any of us really wanted, but we all were so really excited to see this through to fruition.

We were fortunate enough be able to build on each others ideas for first few days then we were able to scale down to what was realistic and cutout parts that didn’t support our core reaction.

Memorable experience

Seeing people’s faces as they were first entering the space was priceless. As I was in the middle of my introduction, they were barely listening to what I saying and trying to peer over my shoulder into the room. We had built up all this anticipation as they waited downstairs with their maps and glowsticks and then through the introductions coming up the stairs.

Overall we got a pretty good response from our classmates and from Red Burns. Red complimented us on transforming the room and said that Curtis would have loved it too. The biggest compliment we got, in my opinion, is when a classmate said they like that we had created a “safe space” for everyone to share and participate as much or as little as they wanted. This was big for me because I know myself and I know that I’m not always the first person to volunteer my participation or personal information. While that is something I’m always working on personally (being able to just jump in and speak or take risks), I knew there were others like me who might hesitate at first. Everything in our presentation was optional, even their attention. Each person’s experience in the space was personal.

I had such an amazing time working on this project. We worked really hard on this. And it’s by far my favorite experience at ITP so far.

Interactive Jellyfish Light Sculpture

The jellyfish is an interactive sculpture that emits lights and is able to hear and speak like a living organism. When people get closer, her heart starts beating and she emits light and makes sounds in her own language. As she is from the deep sea, we don’t exactly know what she is saying, but she wants to communicate with people.

The lighting sculpture is constructed from laser-cut acrylic and a matrix of 12v. LEDs that are soldered together in a way that allows each LED to be controlled individually. The sculpture also has range finder that senses when an object or person is close, and speakers.

Techn-icalities: Arduino Uno, range finder, Processing (for music), white 12volt LEDs strips, clear acrylic panes, Max7219 chip, Tip 120 transistors